Part 2: Infrastructure Setup

| 1. Introduction |
| 2. Infrastructure Setup |
| 2.1. Network Configuration |
| 2.2. SonarQube Setup |
| 2.3. Nexus Setup |
| 2.4. Jenkins Setup |
| 2.4.1. Jenkins Configuration |
| 3. Summary & Next step |
1. Introduction
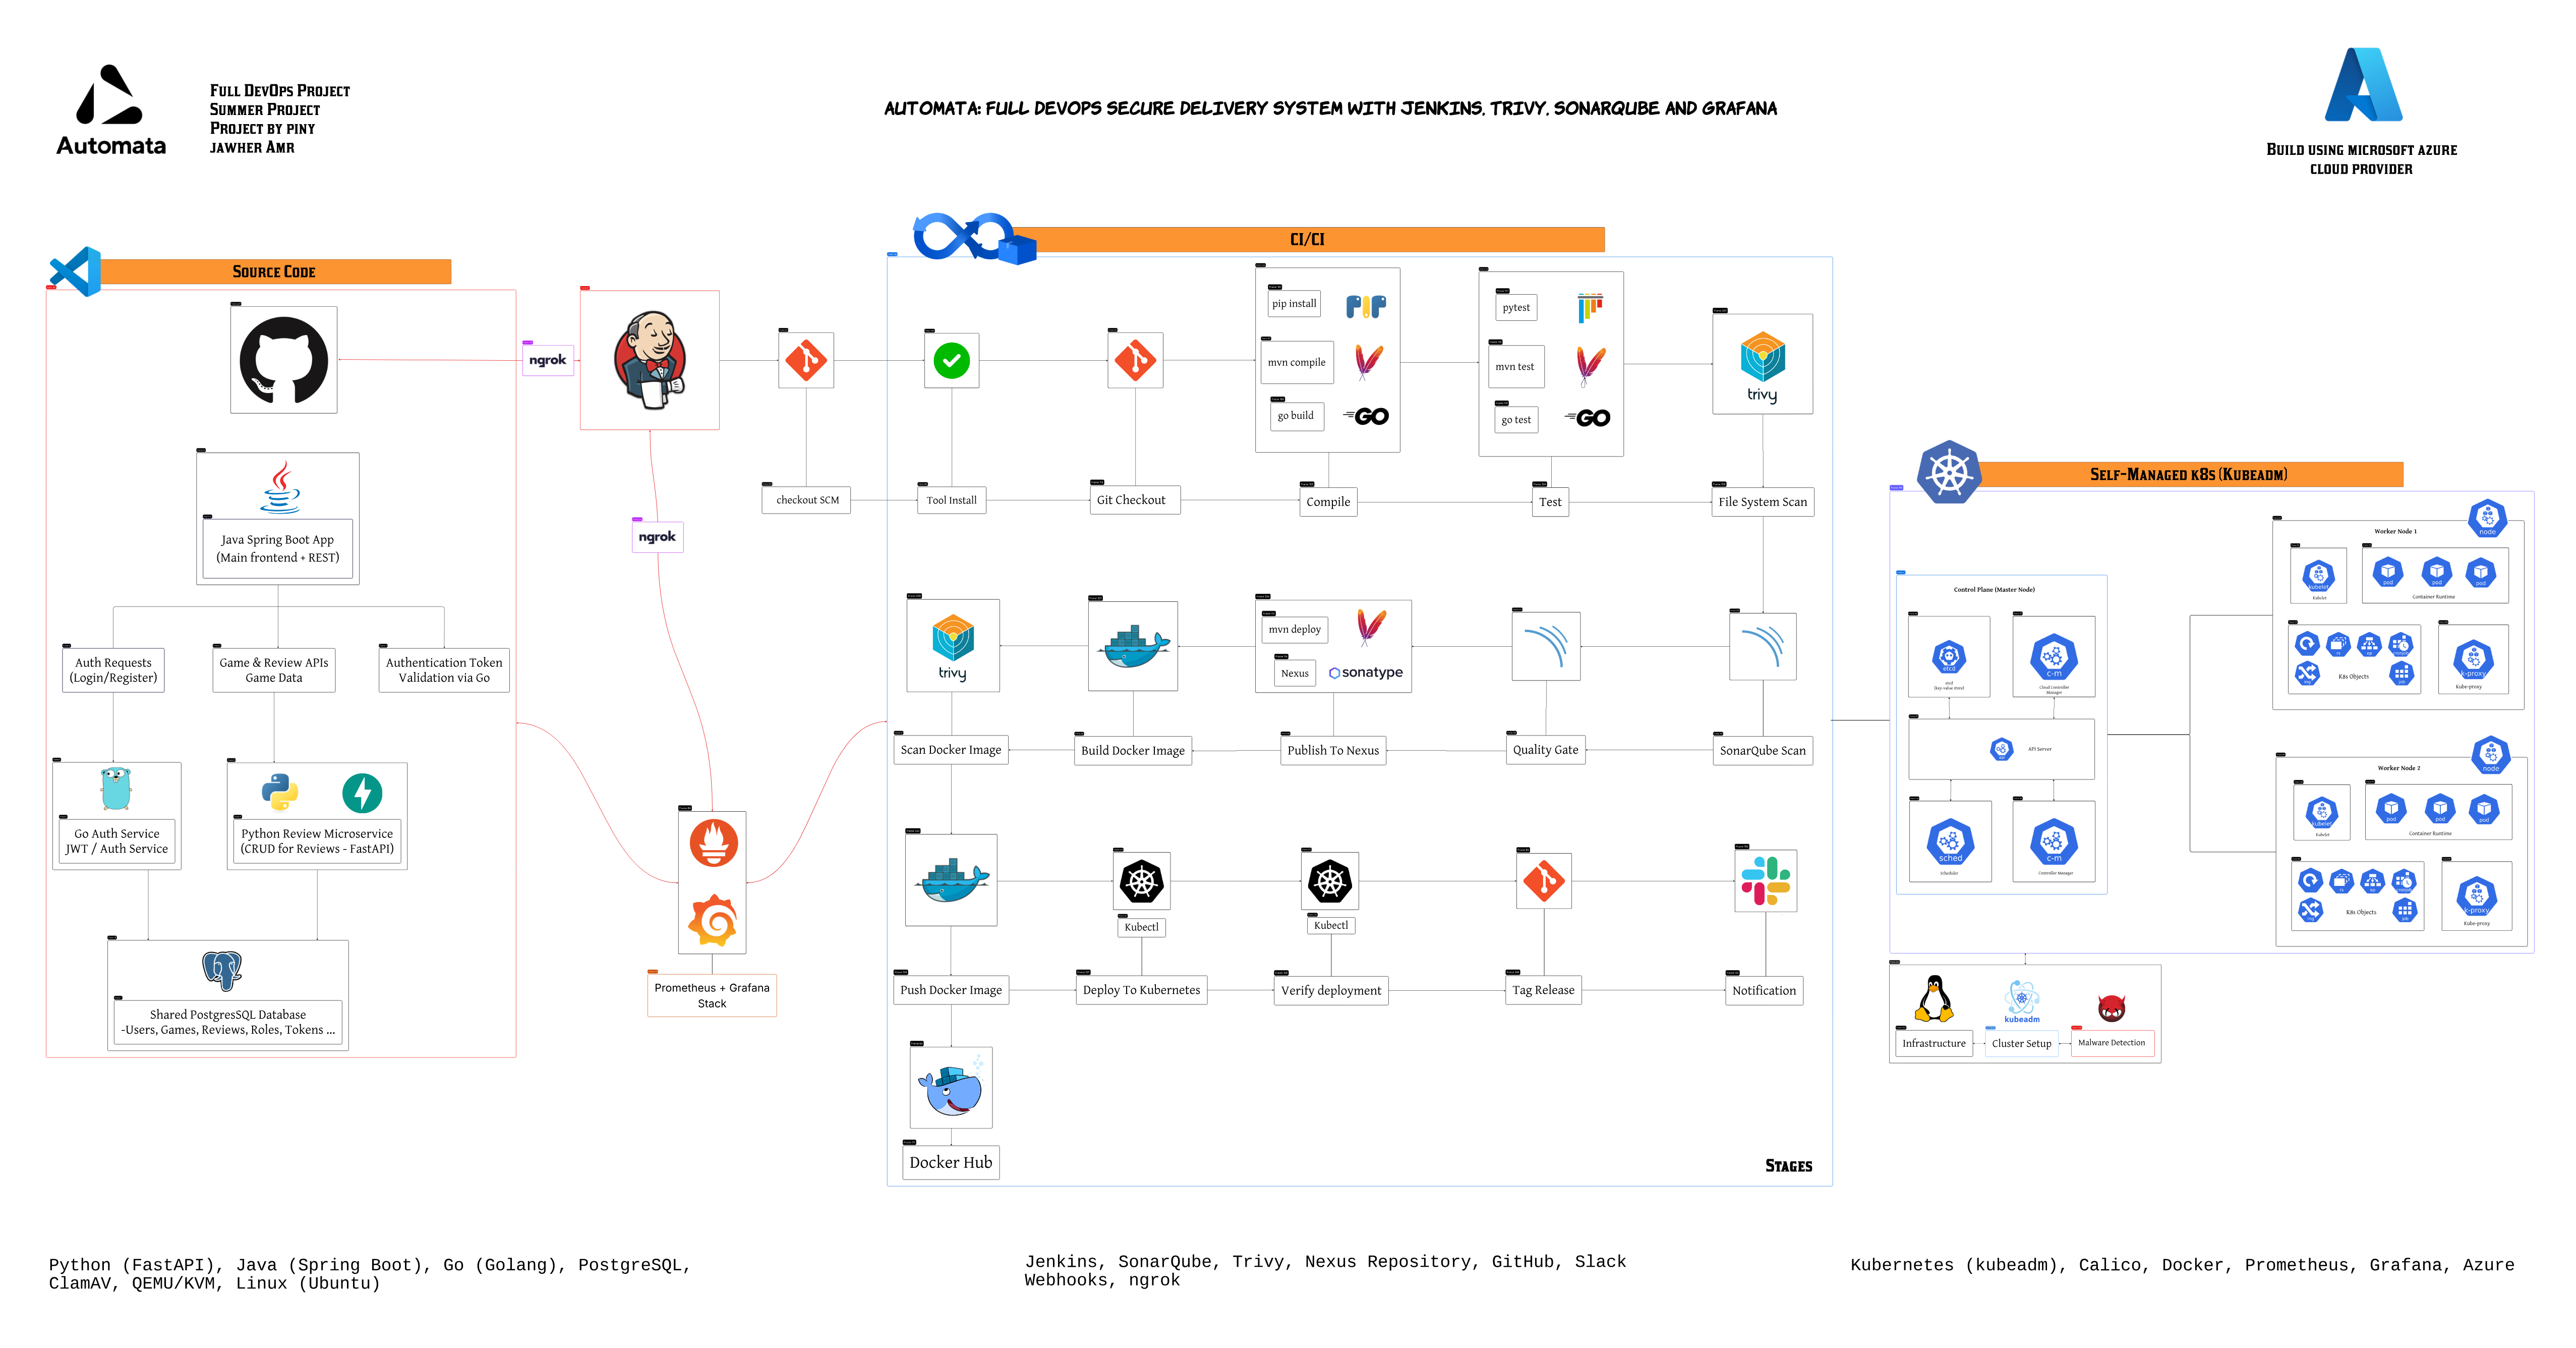
In this part 2 of the project, I will explain how to build the necessary server configurations, along with some networking setup. Then, we will move on to creating the full CI/CD pipeline for our application. I will also configure Jenkins and install the necessary plugins so we can jump directly into the real work within the CI/CD setup.
This part is very important, and in fact, the way I create the servers here is similar to what’s used in some of the biggest banks and startups. You can say it’s almost a production-ready setup.
2. Infrastructure Setup
Now i will proceeded to create three virtual machines (VMs) that serve as infrastructure components for the CI/CD pipeline. Each VM is dedicated to one of the following services:
SonarQube (for code quality analysis)
Nexus (for artifact repository management)
Jenkins (for continuous integration and delivery)
Why Use Docker in Each VM?
Instead of installing SonarQube and Nexus directly on the host systems, I chose to run them as containers using Docker. This method is more maintainable, aligns with best practices in modern DevOps, and simplifies upgrades and configurations.
For Jenkins, Docker was also installed on the VM. Jenkins utilizes Docker to build and run images as part of the pipeline stages (e.g., building microservices).
Installing Docker
Docker was installed on all three VMs following the official installation guide:
2.1. Network Configuration
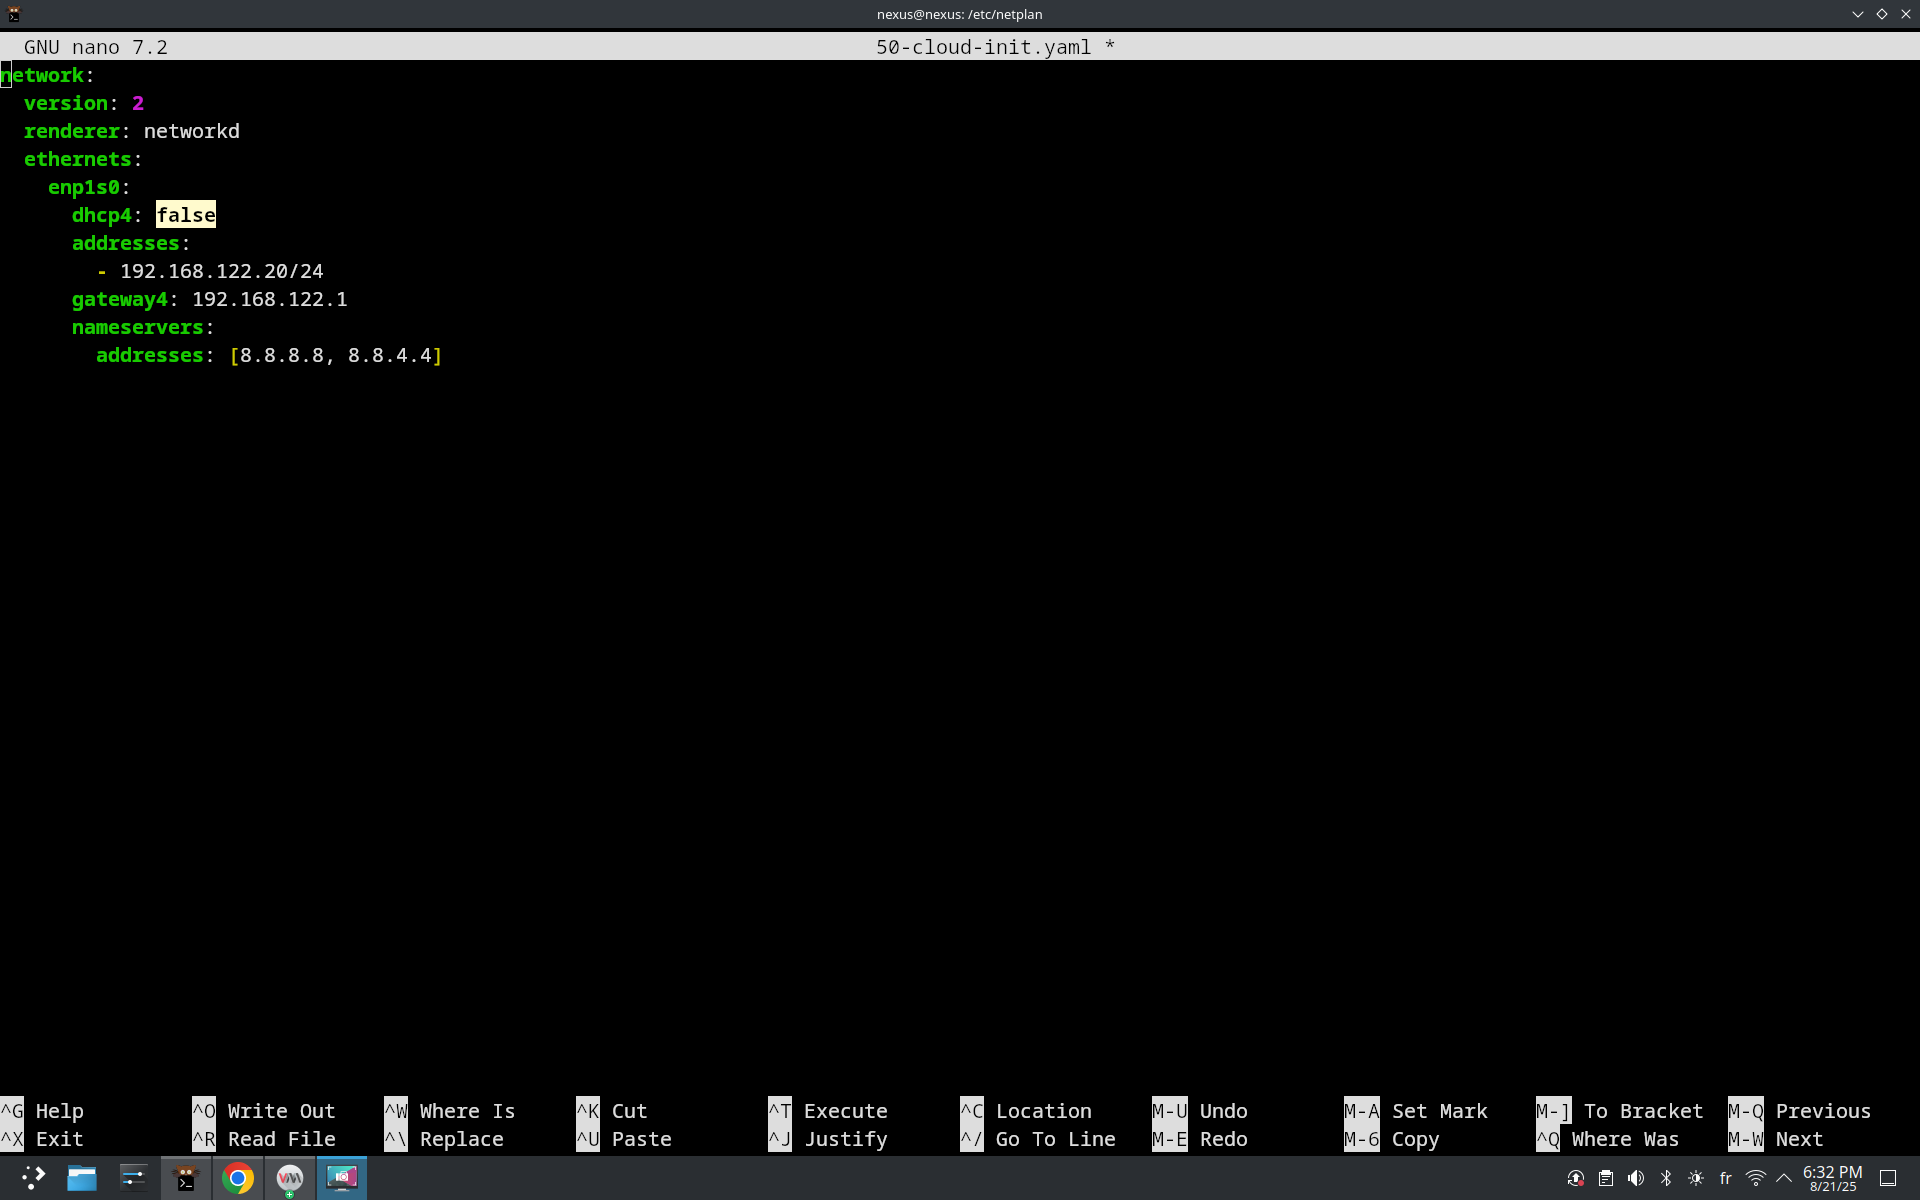
Since we want all the virtual machines to work without any networking issues, we need to assign a static IP address to each VM. This step is required to avoid problems when configuring Nexus, Jenkins, and SonarQube. Without static IP addresses, some virtual machines may not display the GUI properly.
As shown in the configuration below, for Nexus you must set at least two VMs with static IPs, while the third one can remain dynamic (if you have three).
2.2. SonarQube Setup
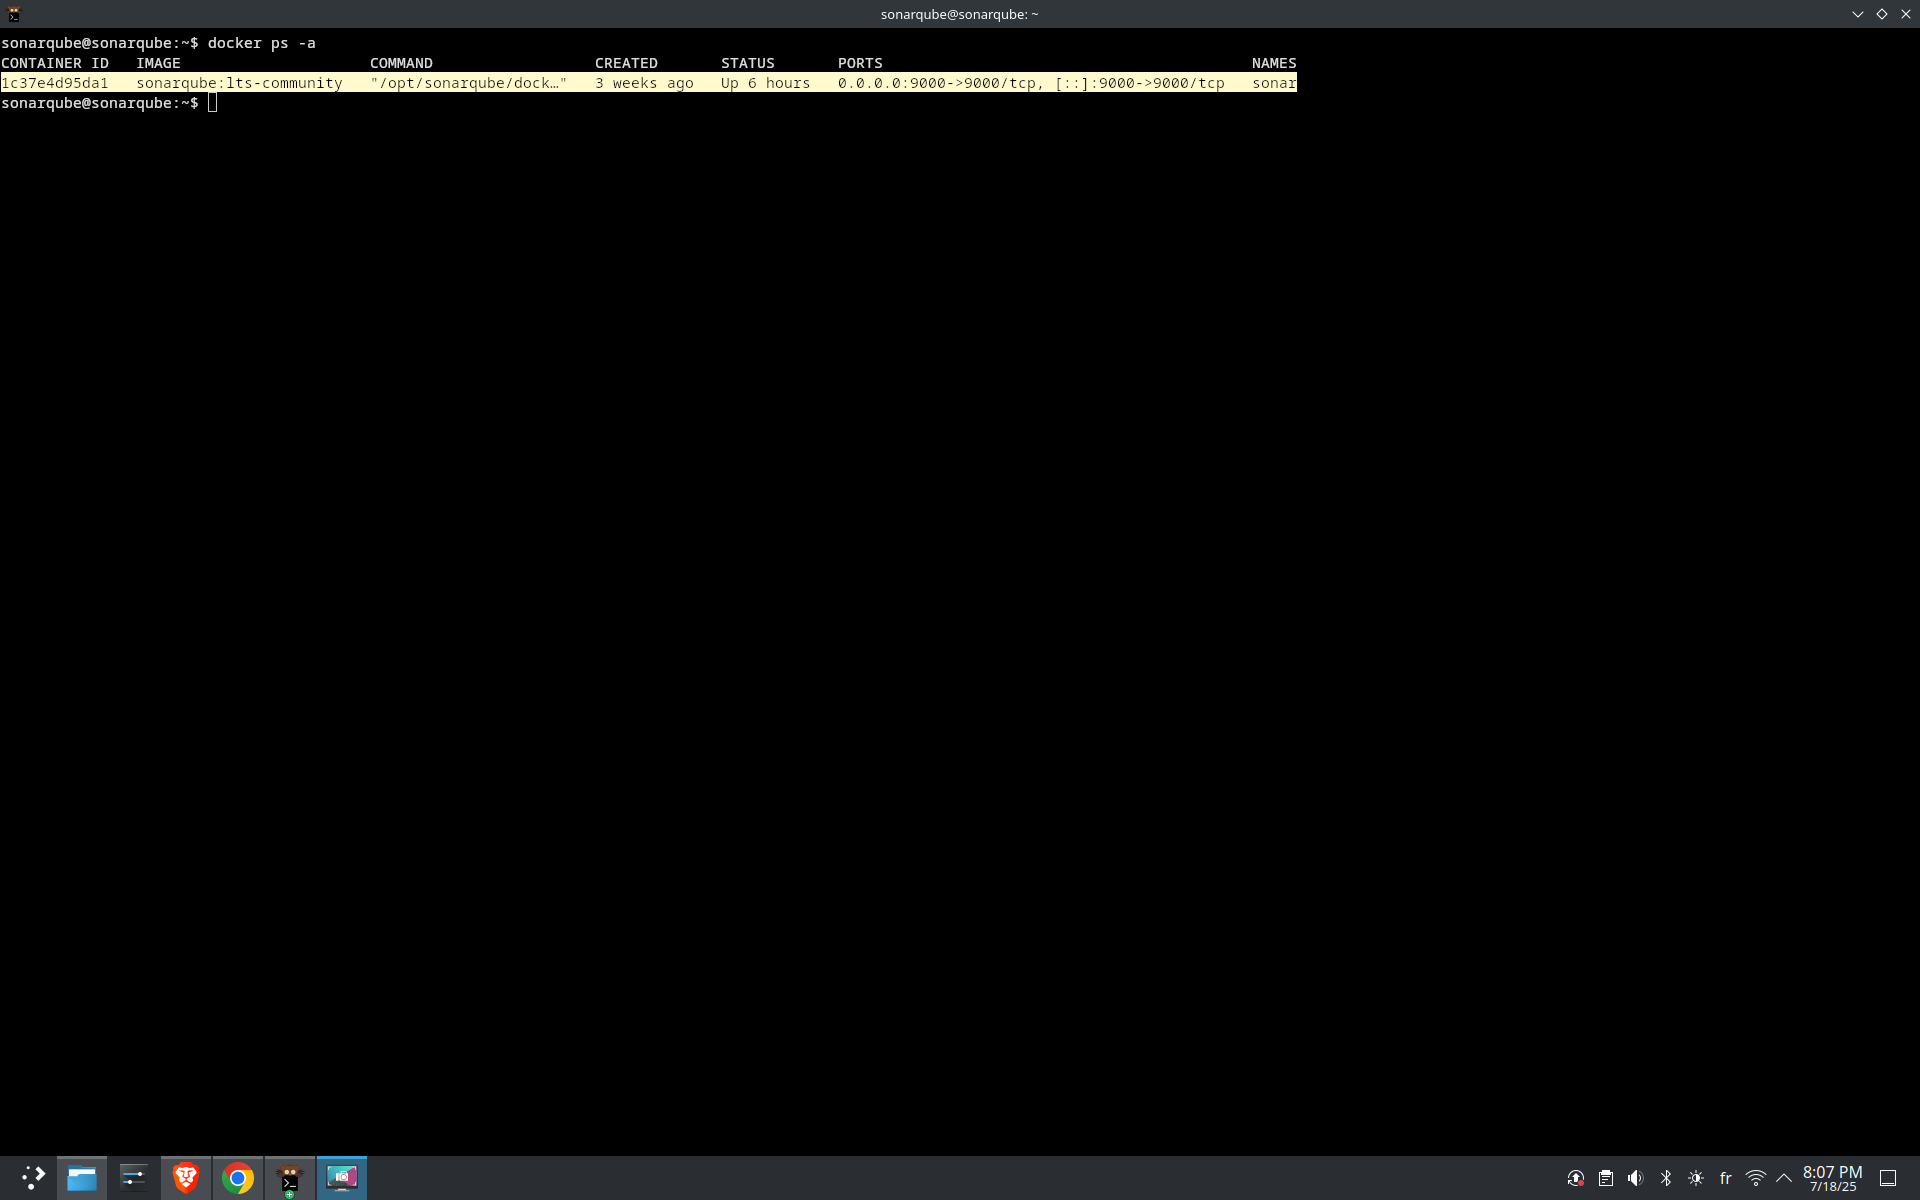
After installing Docker on the SonarQube VM, I pulled and ran the official LTS community edition image using the following command:
docker run -d --name sonar -p 9000:9000 sonarqube:lts-community
This command runs the container in detached mode, exposes port 9000, and names the container sonar.
To access the SonarQube web interface, I retrieved the public IP address of the server using:
ip a
Then I accessed http://<server-ip>:9000 from a browser. The default login credentials are:
Username:
adminPassword:
admin
2.3. Nexus Setup
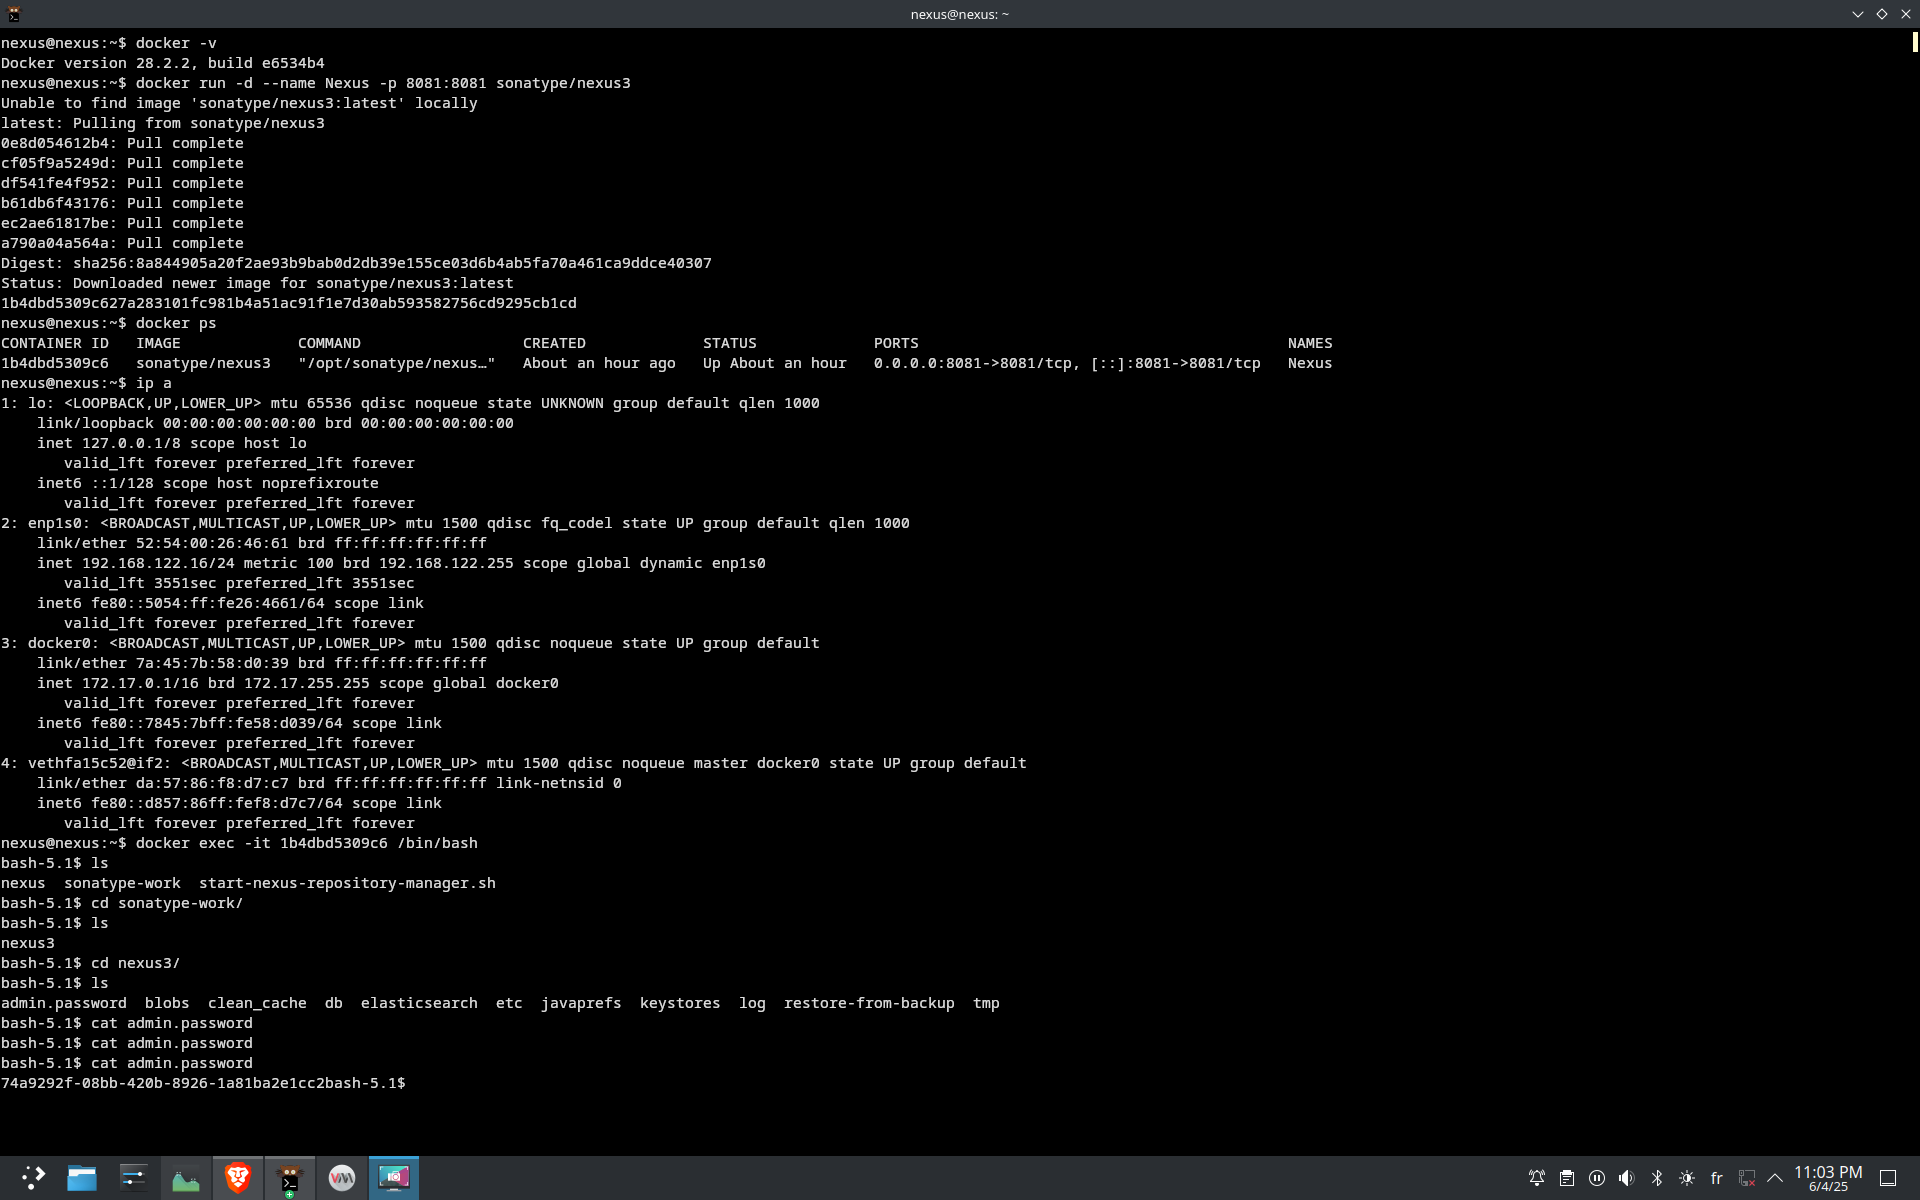
For Nexus, the same Docker-based approach was used. After Docker was installed, I pulled and ran the container with:
docker run -d --name nexus -p 8081:8081 sonatype/nexus3
To retrieve the admin password required on first login:
Enter the running container:
docker exec -it nexus /bin/bashView the password:
cat sonatype-work/nexus3/admin.password
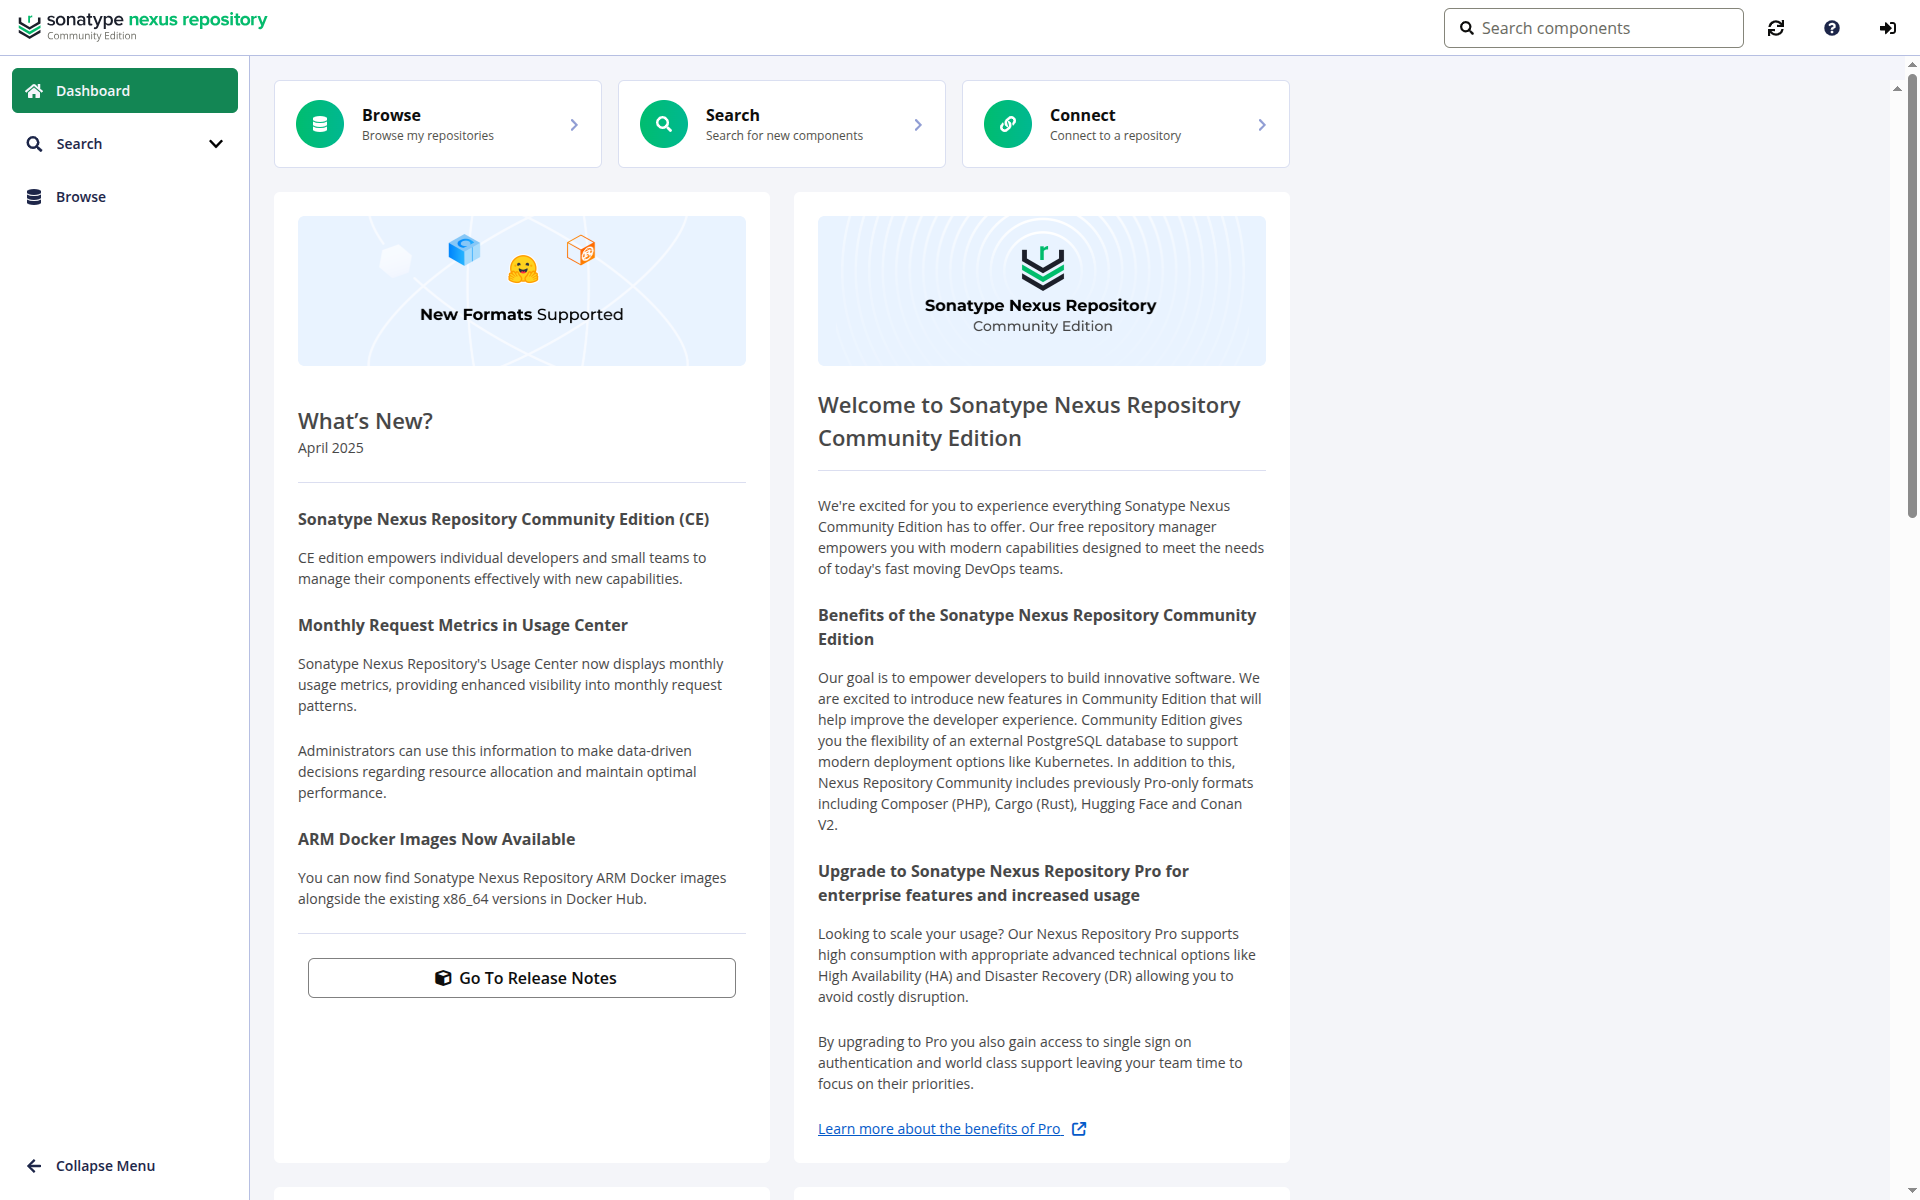
Then I accessed the Nexus GUI via: http://<server-ip>:8081
dark mod not exist in this nexus repo version sorry :
2.4. Jenkins Setup
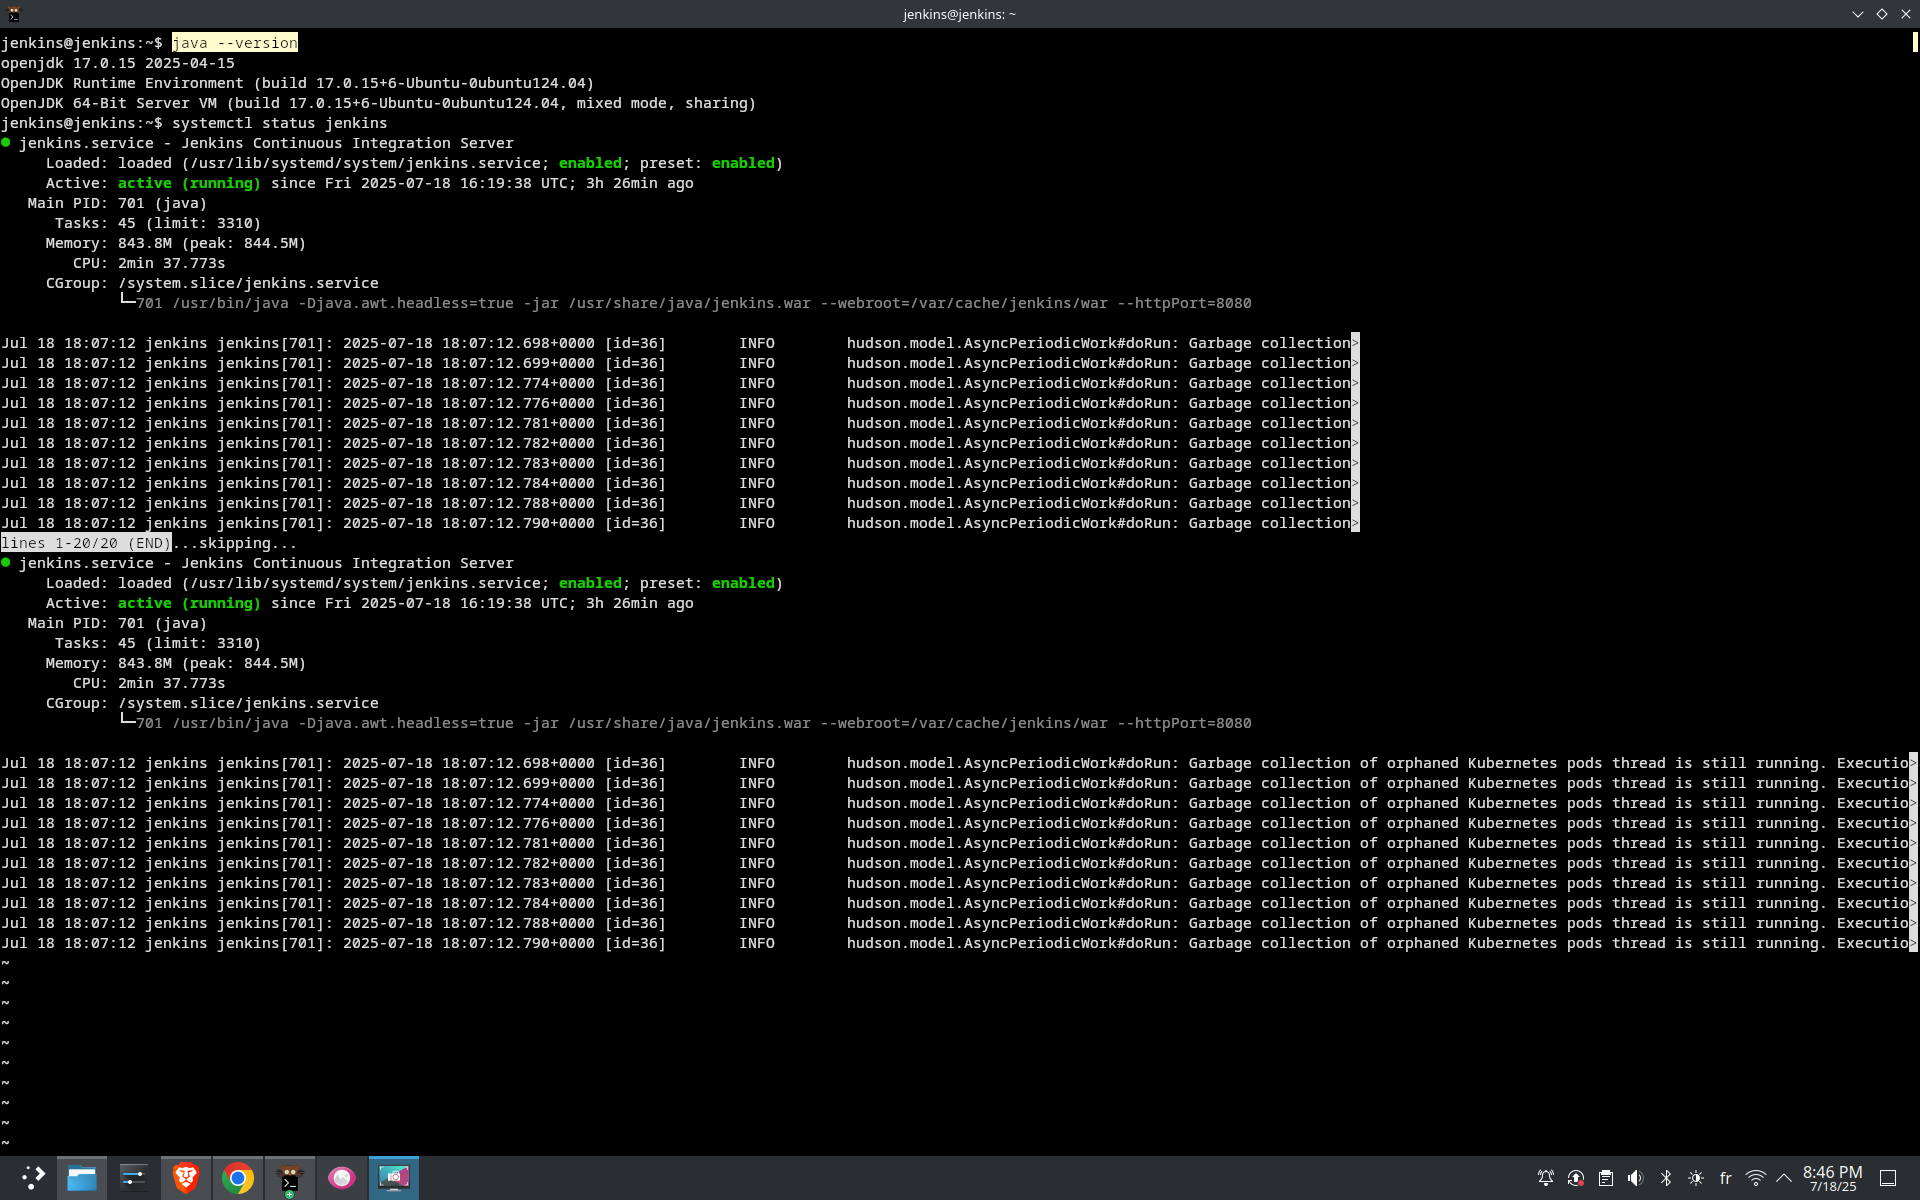
For Jenkins, I chose to install it directly on the VM. The only prerequisite is Java 17, which I installed using:
sudo apt install openjdk-17-jdk -y
I then followed the official Jenkins installation guide for Debian/Ubuntu-based systems:
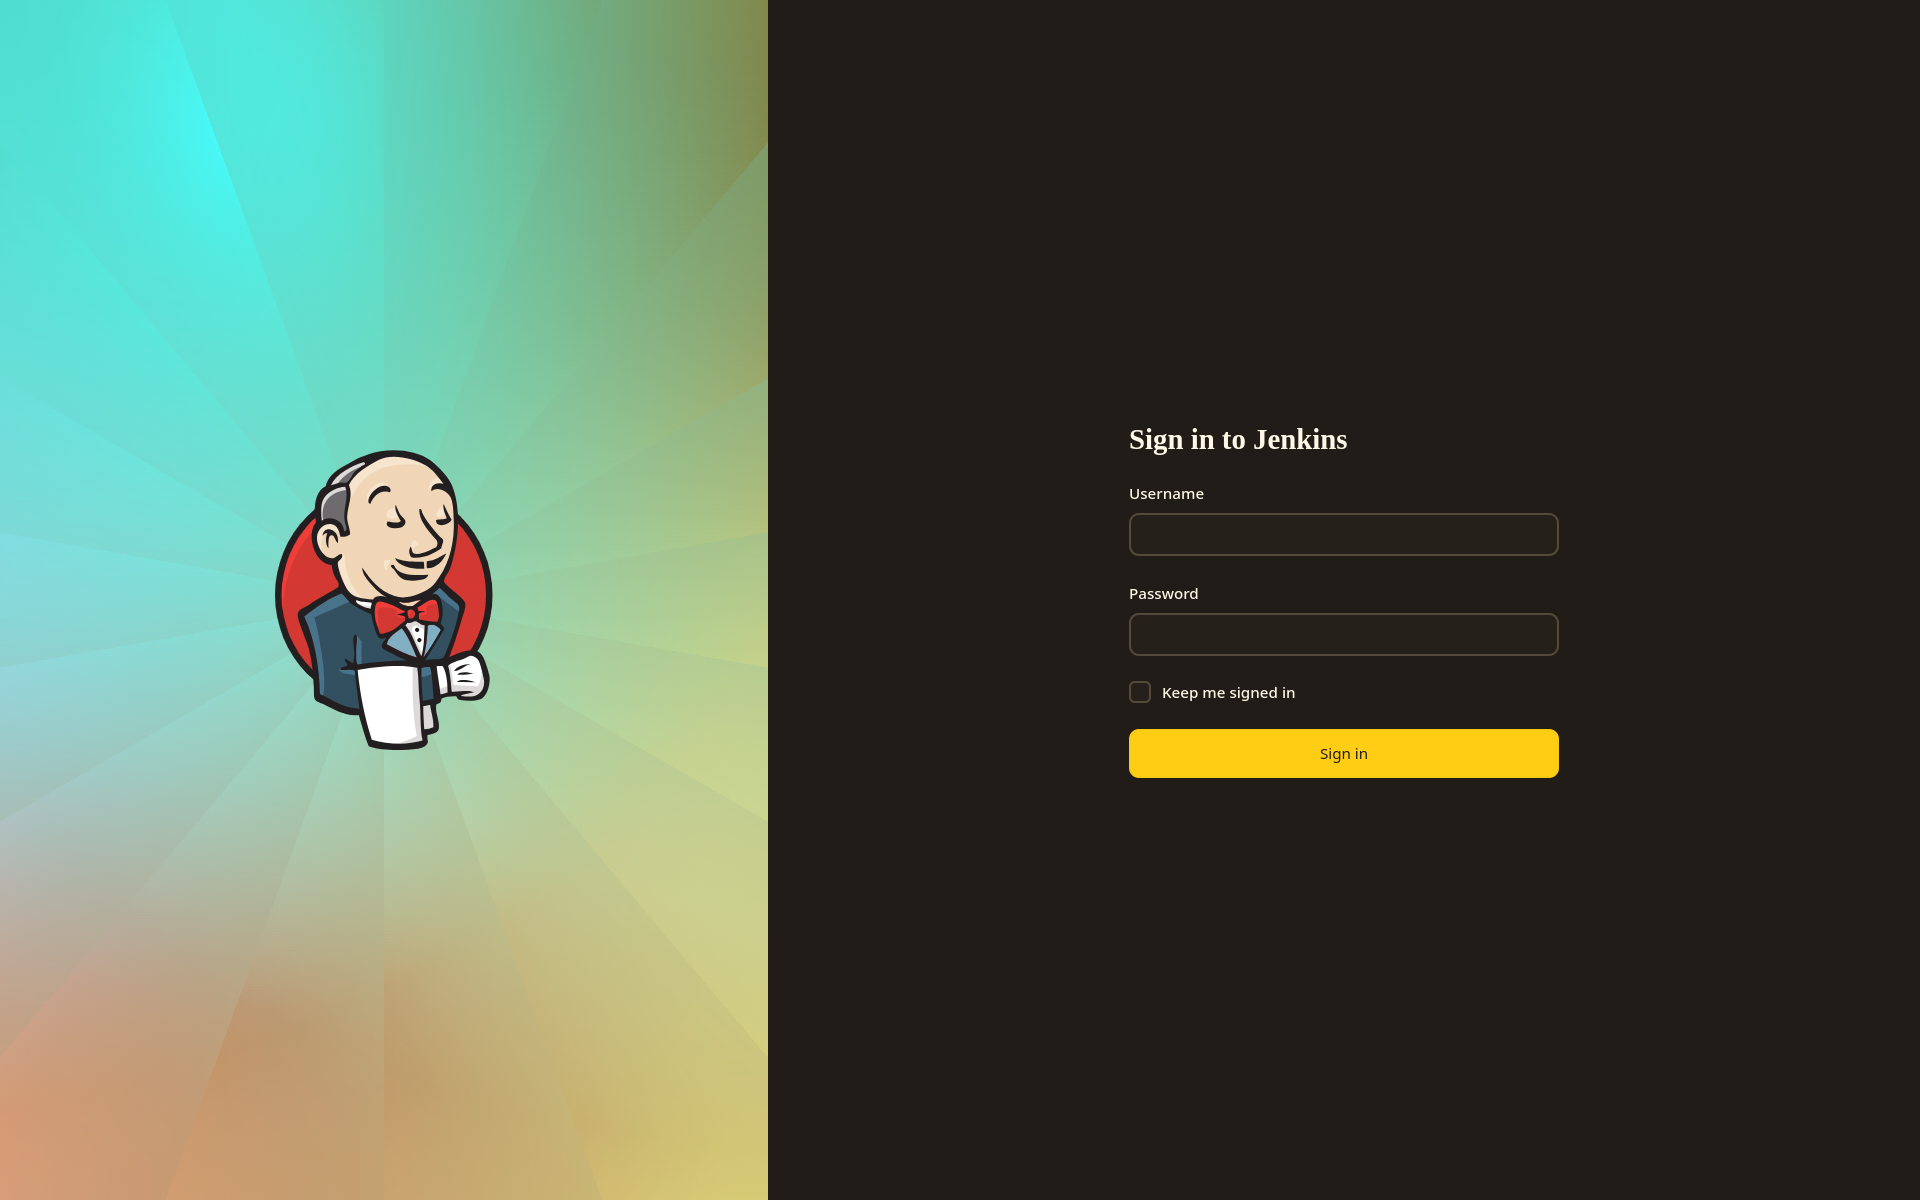
After installation, Jenkins prompted for the initial admin password, which is located at:
/var/lib/jenkins/secrets/initialAdminPassword
Jenkins then guided me through installing the recommended plugins.
2.4.1. Jenkins Configuration
After completing the base Jenkins setup and installing the recommended plugins, we proceed to install the additional plugins required to configure our CI/CD environment .
Required Jenkins Plugins
The following plugins are installed to enable full CI/CD functionality:
Eclipse Temurin Installer – Used to install JDKs from Adoptium.
Maven Integration Plugin – Supports building Java applications with Maven.
Pipeline Maven Integration – Adds support for Maven within Pipeline jobs.
Config File Provider Plugin – Manages shared configuration files.
SonarQube Scanner Plugin – Integrates SonarQube static code analysis.
Docker Plugin – Enables Jenkins to communicate with the Docker daemon.
Docker Pipeline Plugin – Provides Docker support within Jenkins pipelines.
Kubernetes Plugin – Integrates Jenkins with Kubernetes clusters.
Kubernetes Credentials Plugin – Manages Kubernetes-specific credentials.
Go Plugin – Enables Go language support and tooling integration.
Image here
Tools Configuration
In Jenkins, the Tools Configuration section allows you to define tools like JDK, Maven, and Go in a centralized and automated way for use within pipelines.
While it’s possible to install these tools manually on the server using the command line, defining them in Jenkins enables automatic installation and management through the graphical interface, making the setup more portable across different environments or when using agents.
In other words, manual installation makes the tools available to the system only, whereas defining them inside Jenkins makes them available and manageable within the Jenkins environment.
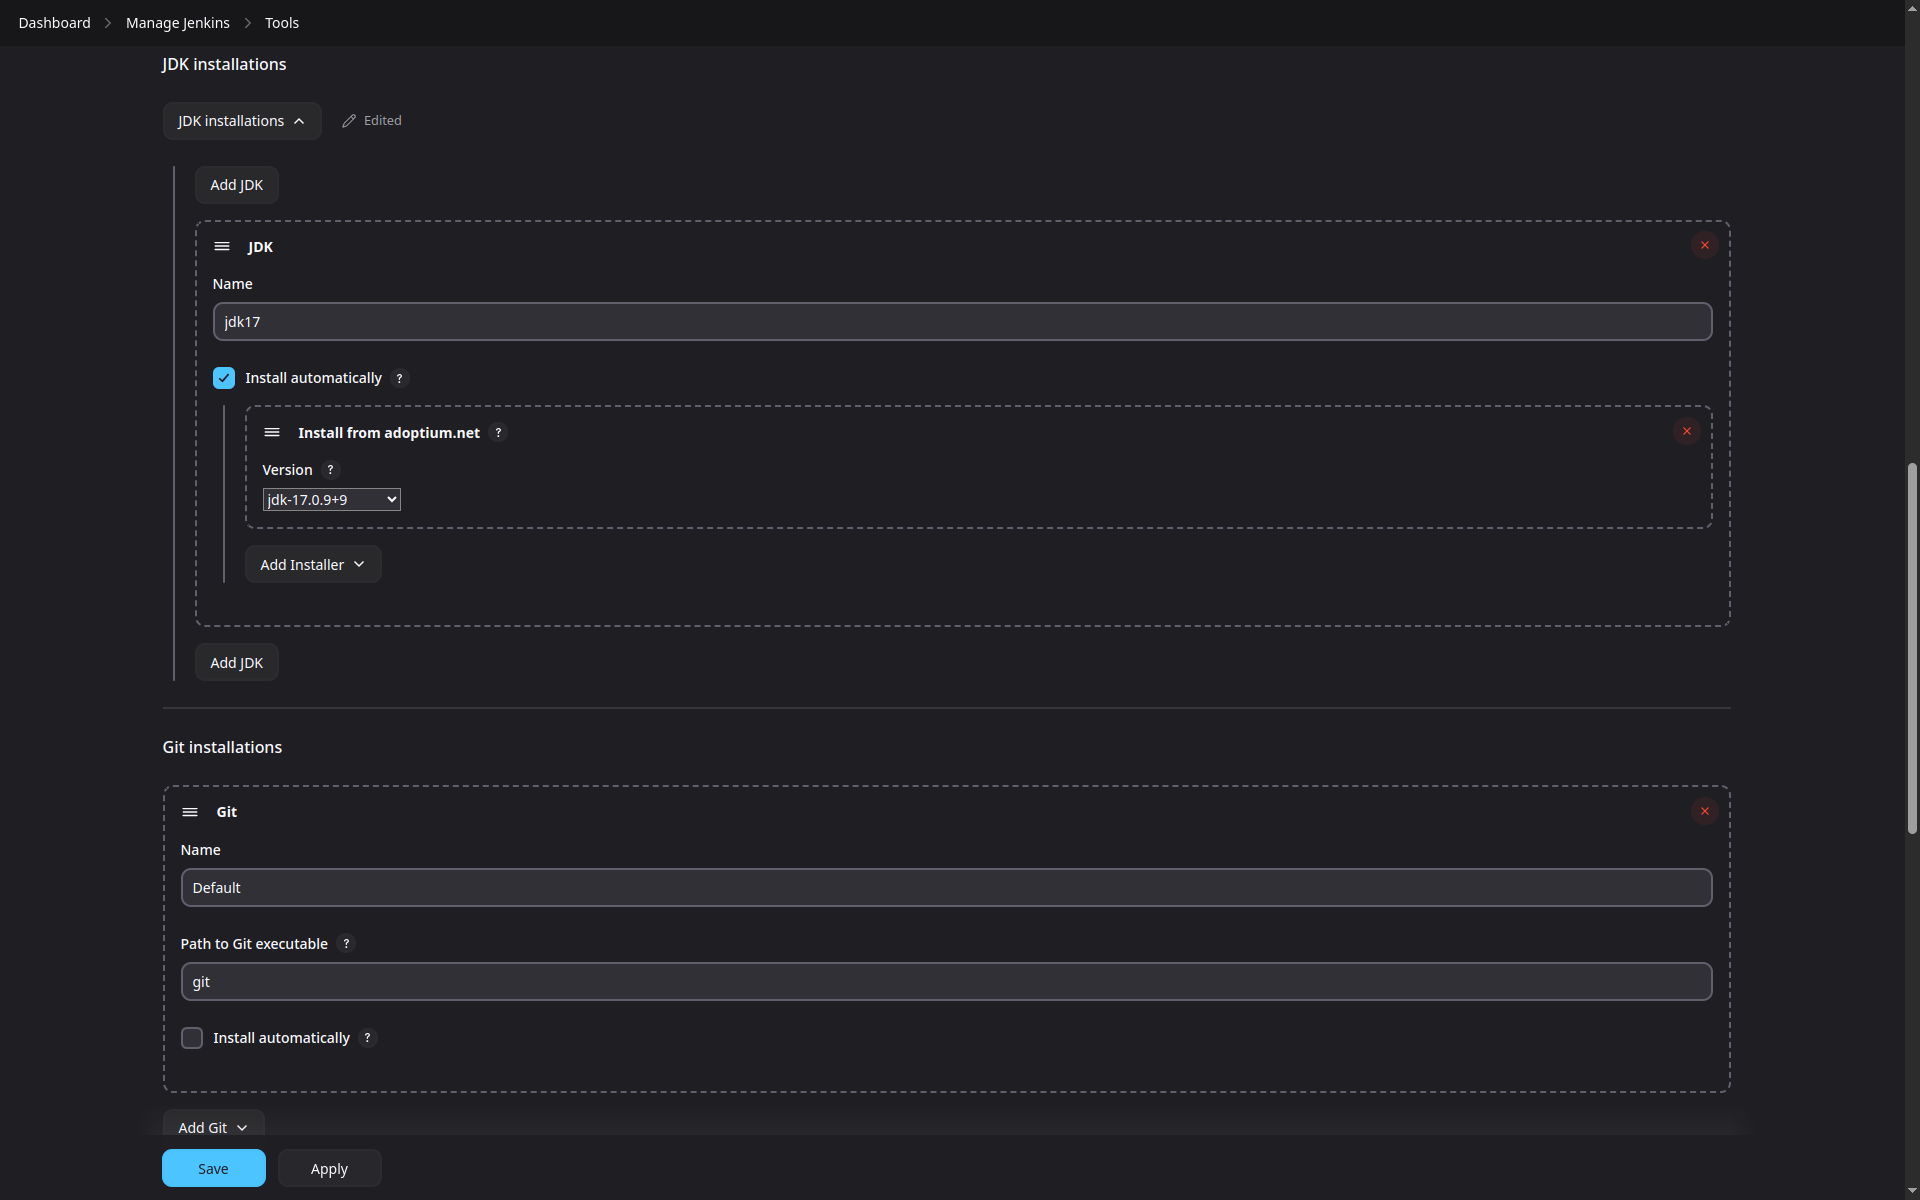
# JDK Configuration
Some build tools, such as Maven, require Java. In this project, we install JDK 17 using the Eclipse Temurin Installer:
Navigate to Manage Jenkins → Global Tool Configuration.
Under the JDK section:
Click Add JDK.
Set the name to
jdk17.Enable Install automatically.
Select Install from adoptium.net.
Set the version to
jdk-17.0.9+9.
This JDK will be used across all pipeline builds that require Java.
# SonarQube Scanner Configuration
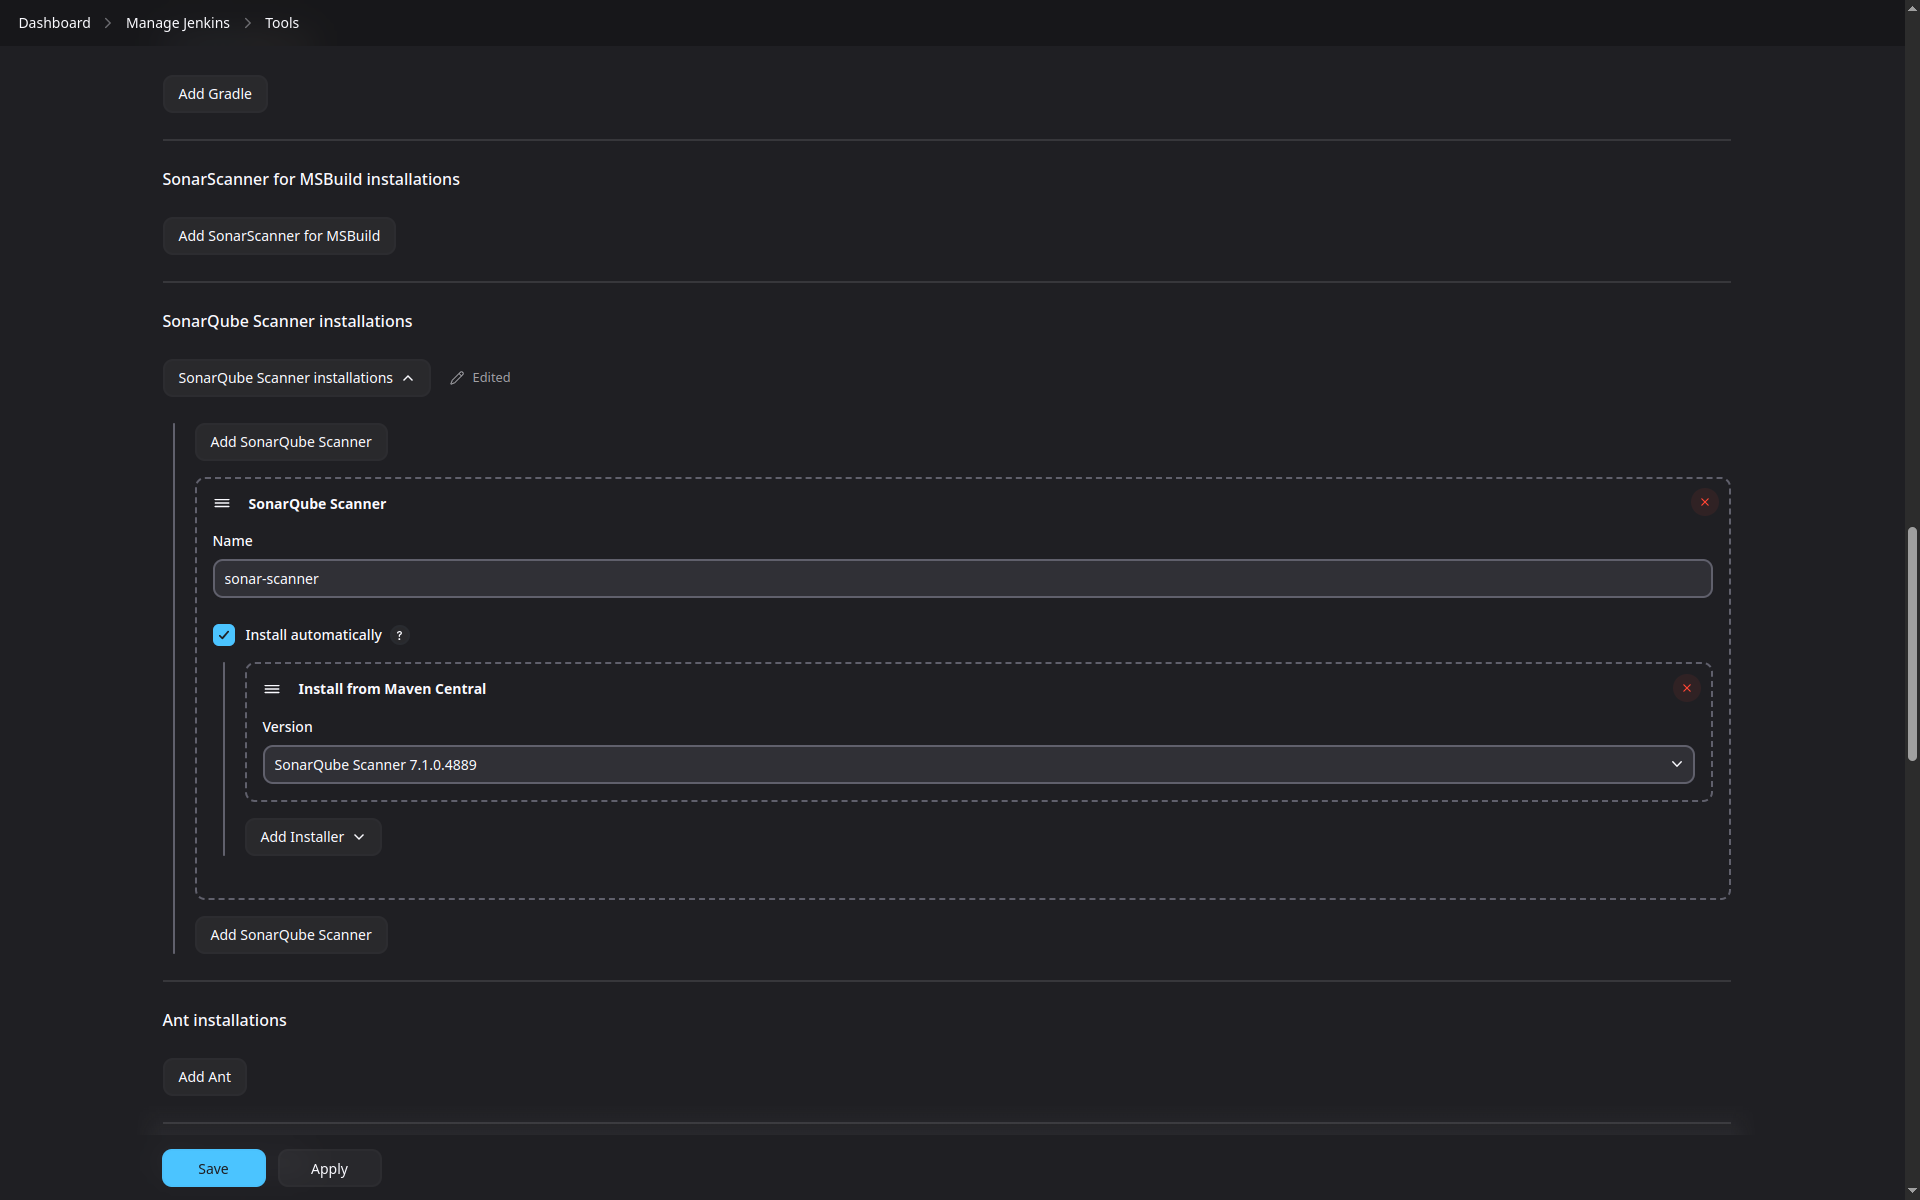
To enable code analysis, we configure the SonarQube Scanner to forward results (code smells, vulnerabilities, maintainability metrics) to the SonarQube server already deployed on a separate VM:
Go to Manage Jenkins → Global Tool Configuration.
Under SonarQube Scanner:
Click Add SonarQube Scanner.
Set the name to
sonar-scanner.Enable Install automatically.
Select the latest version available.
# Maven Configuration
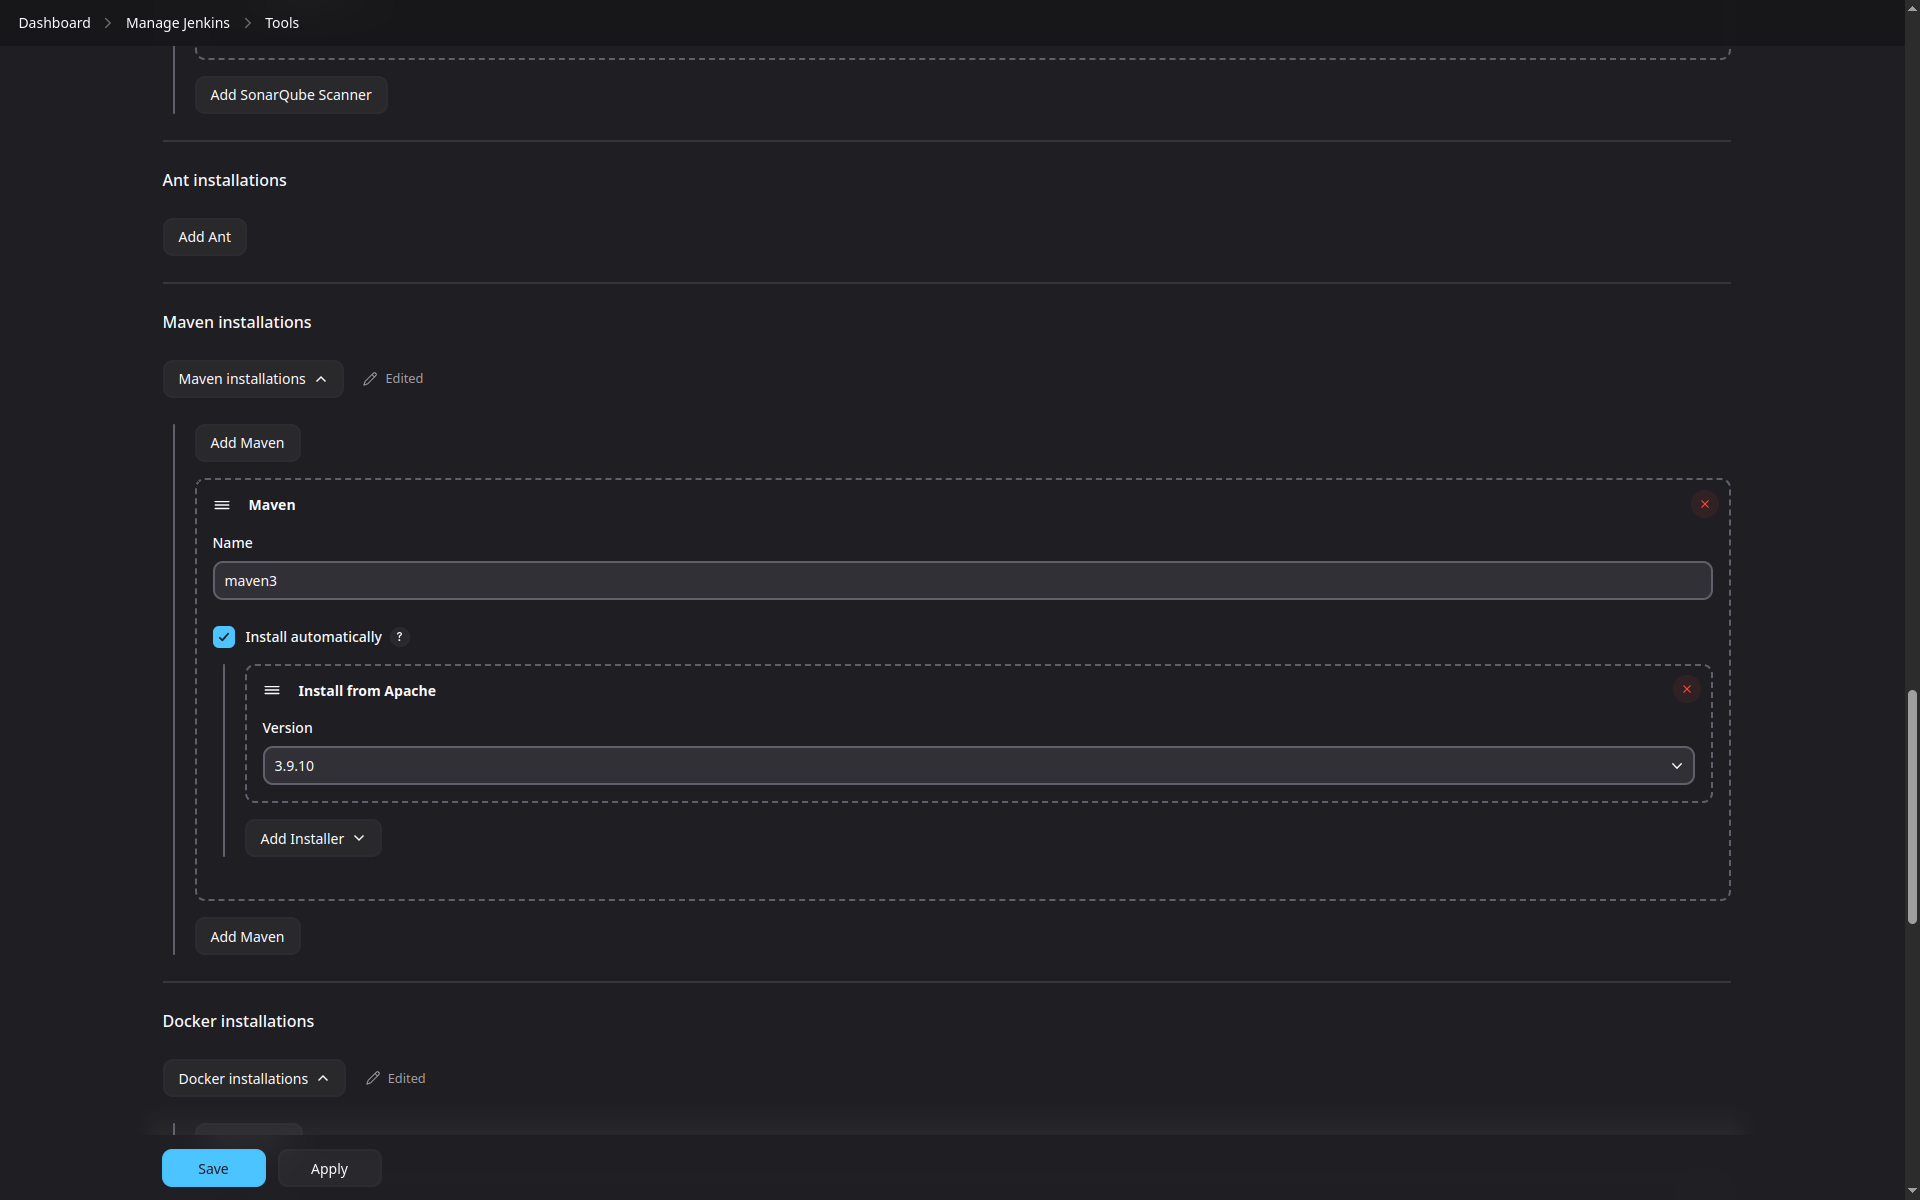
To build the Java microservice, we install and configure Maven:
Under Maven, click Add Maven.
Set the name to
maven3.Enable Install automatically.
Choose Install from Apache and select version
3.9.10(or latest).
This ensures Maven is available in all Maven-based pipeline stages.
# Docker Configuration
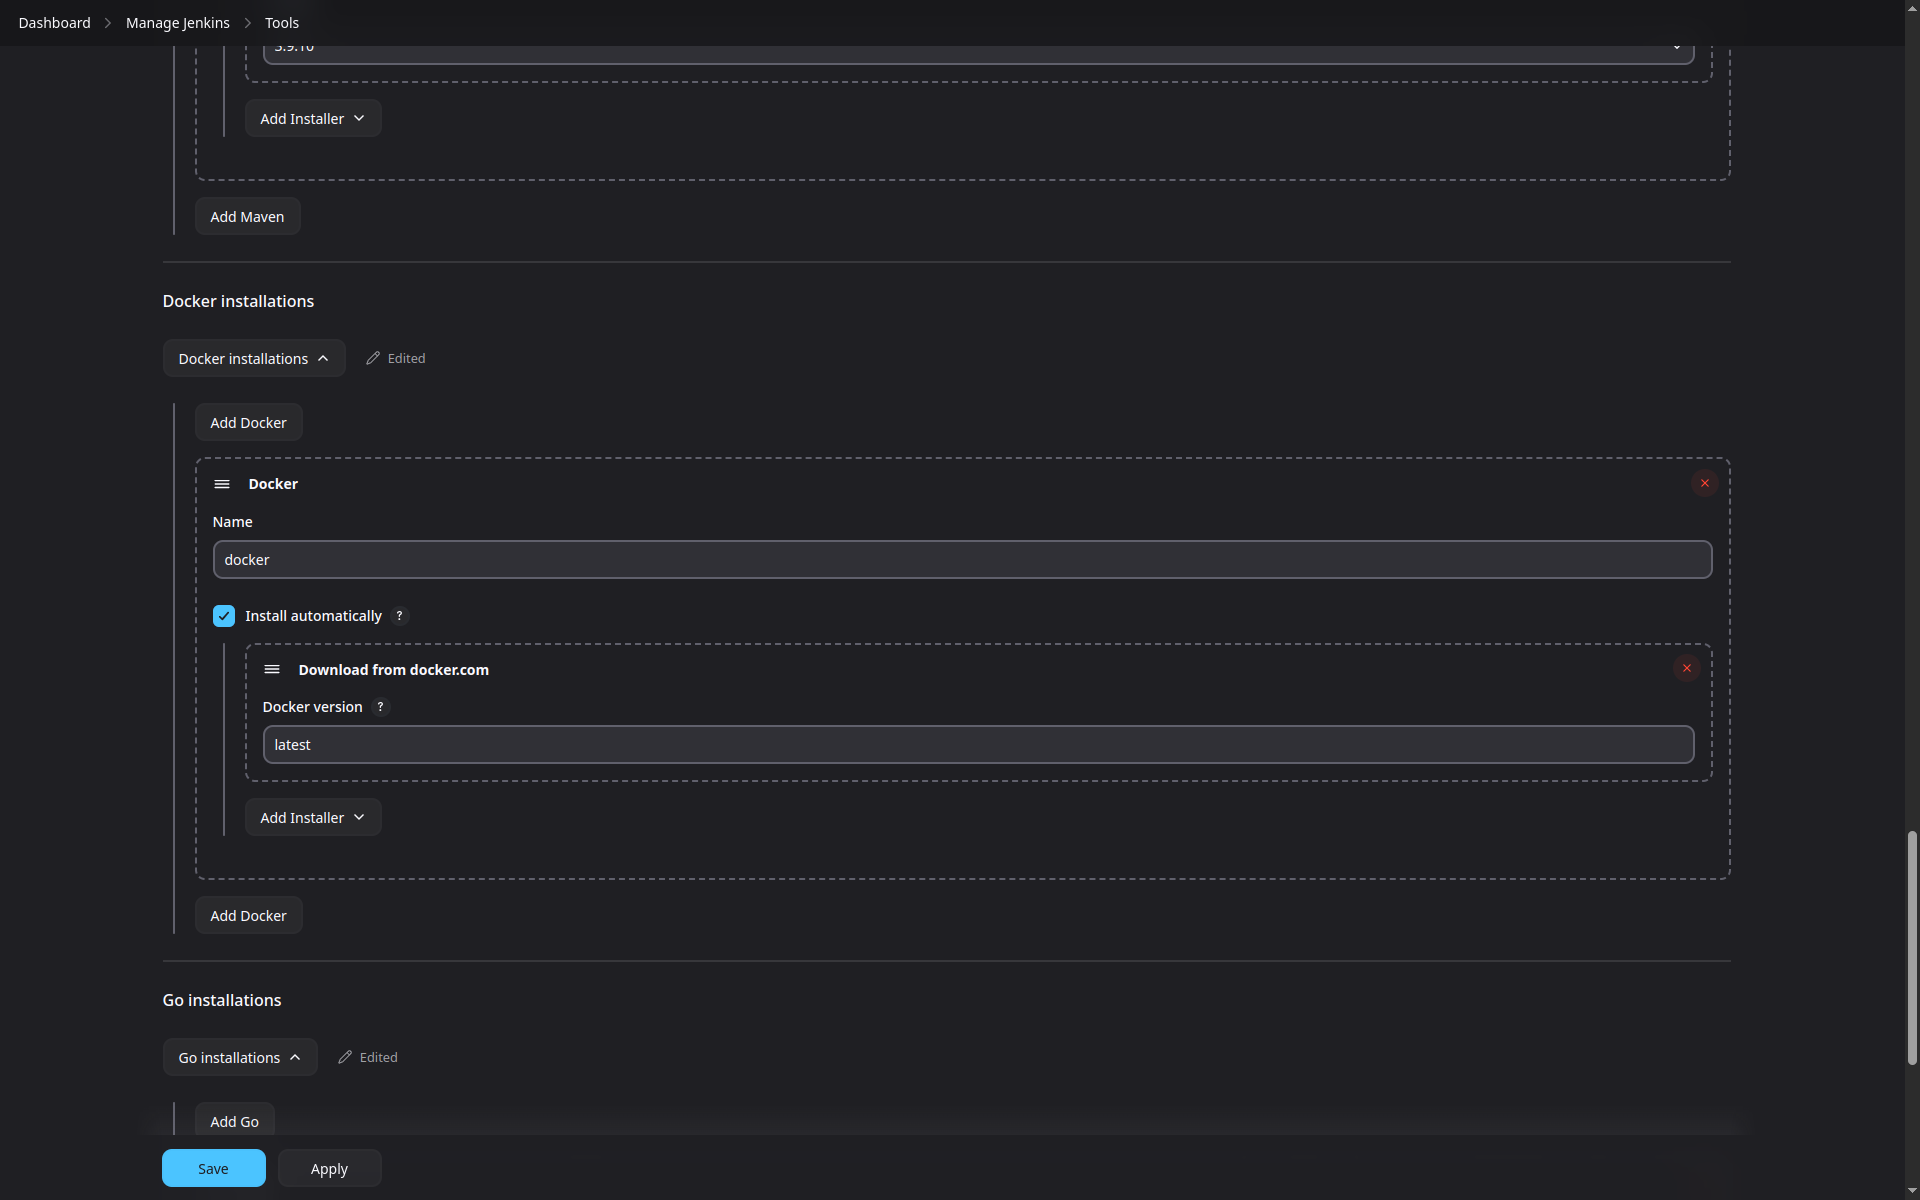
Although Docker is installed on the host server, Jenkins also needs access to the Docker CLI to run container-related commands inside pipelines, especially in distributed agent setups.
Navigate to the Docker section in Global Tool Configuration.
Click Add Docker.
Set the name to
docker.Enable Install automatically.
Choose Download from docker.com.
Select the latest version.
Image: Docker installation section in Jenkins
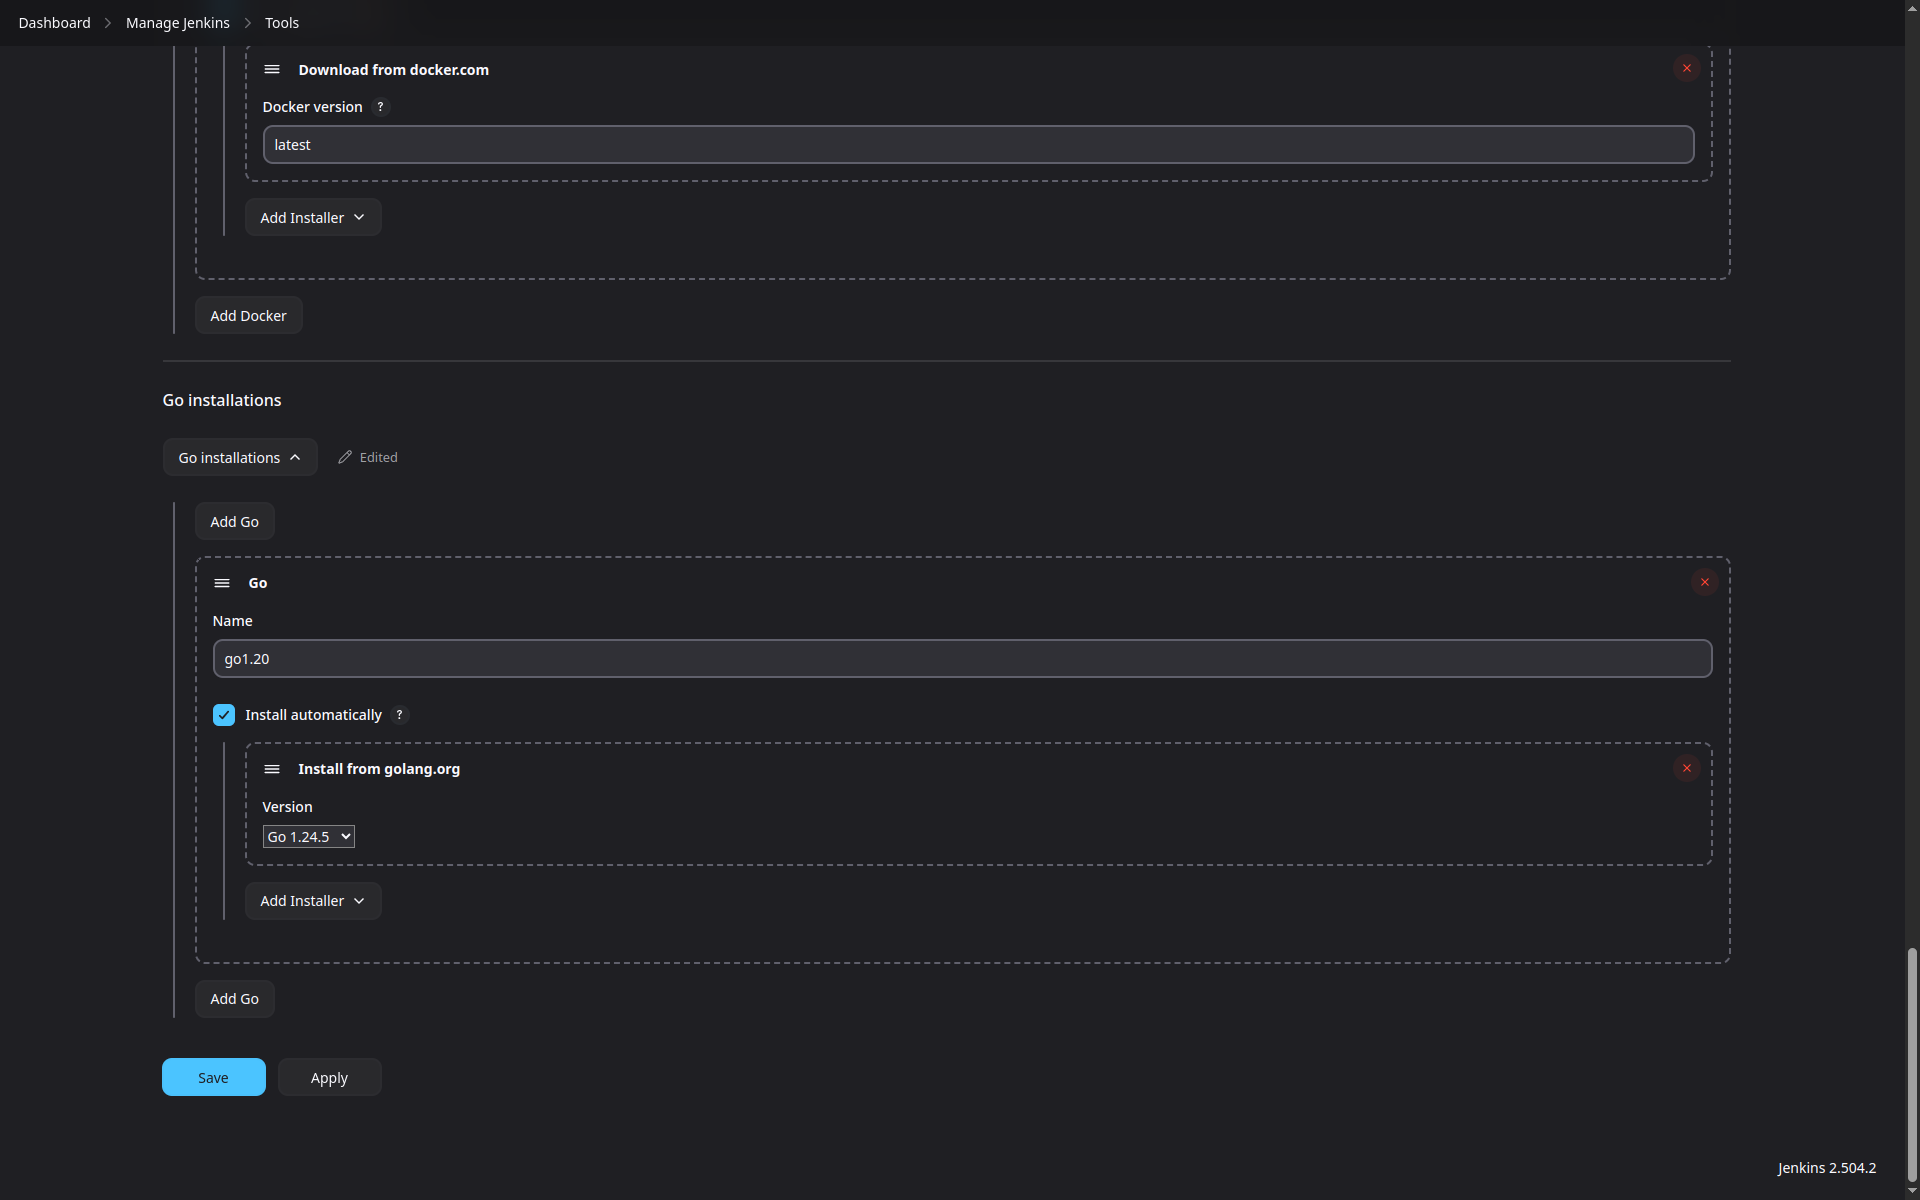
# Go Configuration
For building the Go-based authentication microservice, we configure the Go tool:
Under the Go installations section:
Click Add Go.
Set the name to
go1.20.Enable Install automatically.
Select Install from golang.org.
Set the version to
1.20.
This configuration ensures that Go is available to the Go pipeline stages.
3. Summary & Next step
In this part, I created the necessary infrastructure for the CI/CD pipeline. In one of the upcoming parts, I will set up the Kubernetes cluster and configure the servers. I will be using Azure as the cloud provider. In the final part, I will complete the full CI/CD implementation.
This project will be divided into four parts in total.
See you in the next part!